All Tutorials  ⟩  The CATALOG  ⟩  Catalog Workflow  ⟩  Process Tracks

The Process Tracks Functions

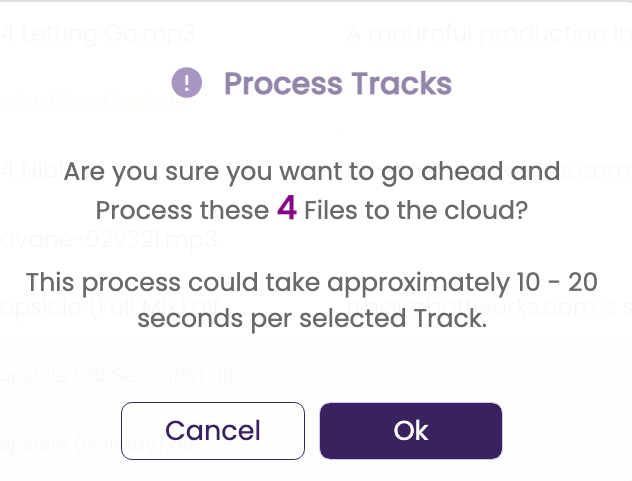
The specialized functions in the Process Tracks menu perform updates, import data, and cache tracks to be shared.

TrackStage Icon

The Process Tracks Menu

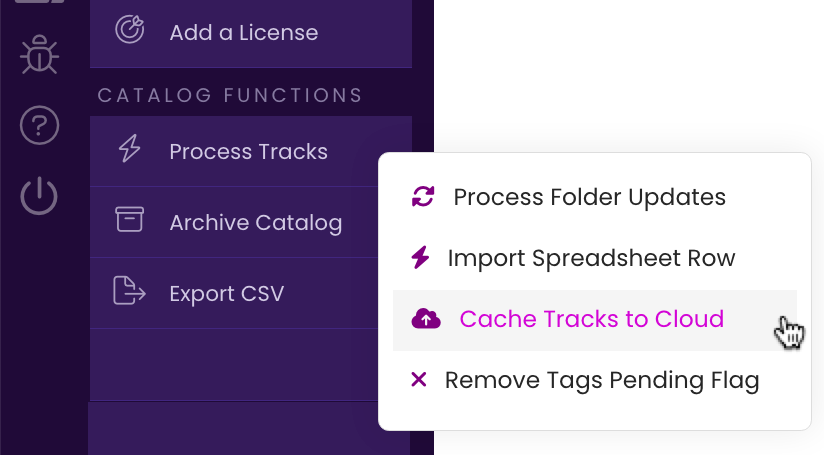
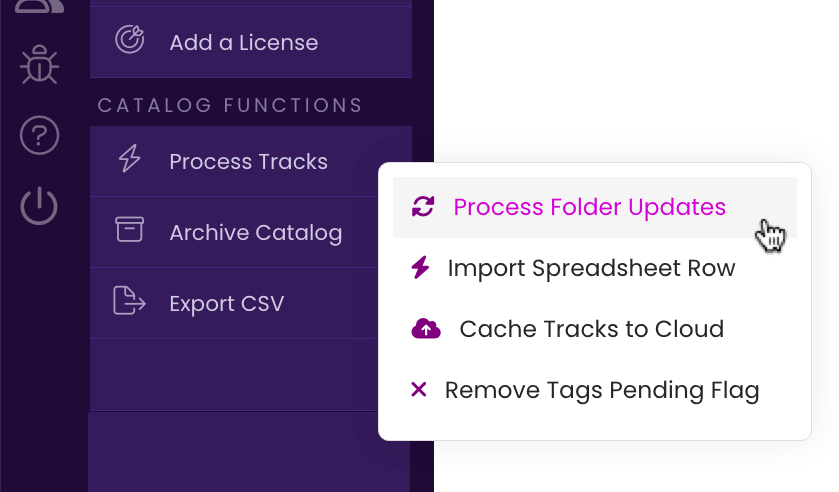
The Process Tracks Menu is found on the Side Menu and contains three sub-commands: Process Folder Updates, Import Spreadsheet Row,and Cache Tracks to Cloud.

TrackSync status icon showing as online.


Process Folder Updates

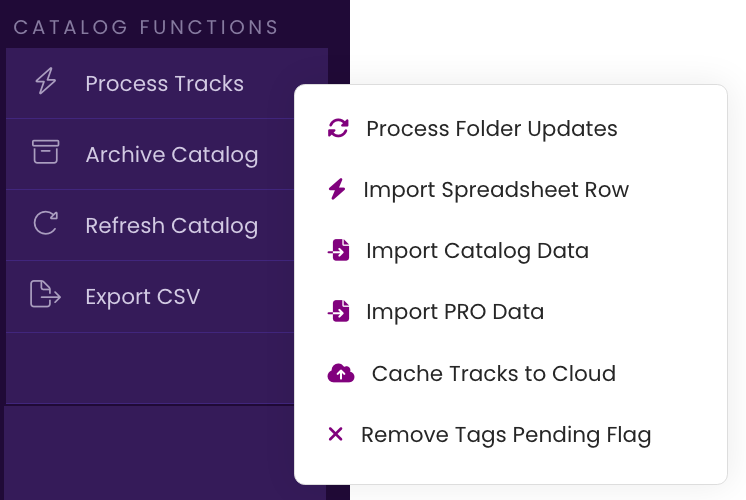
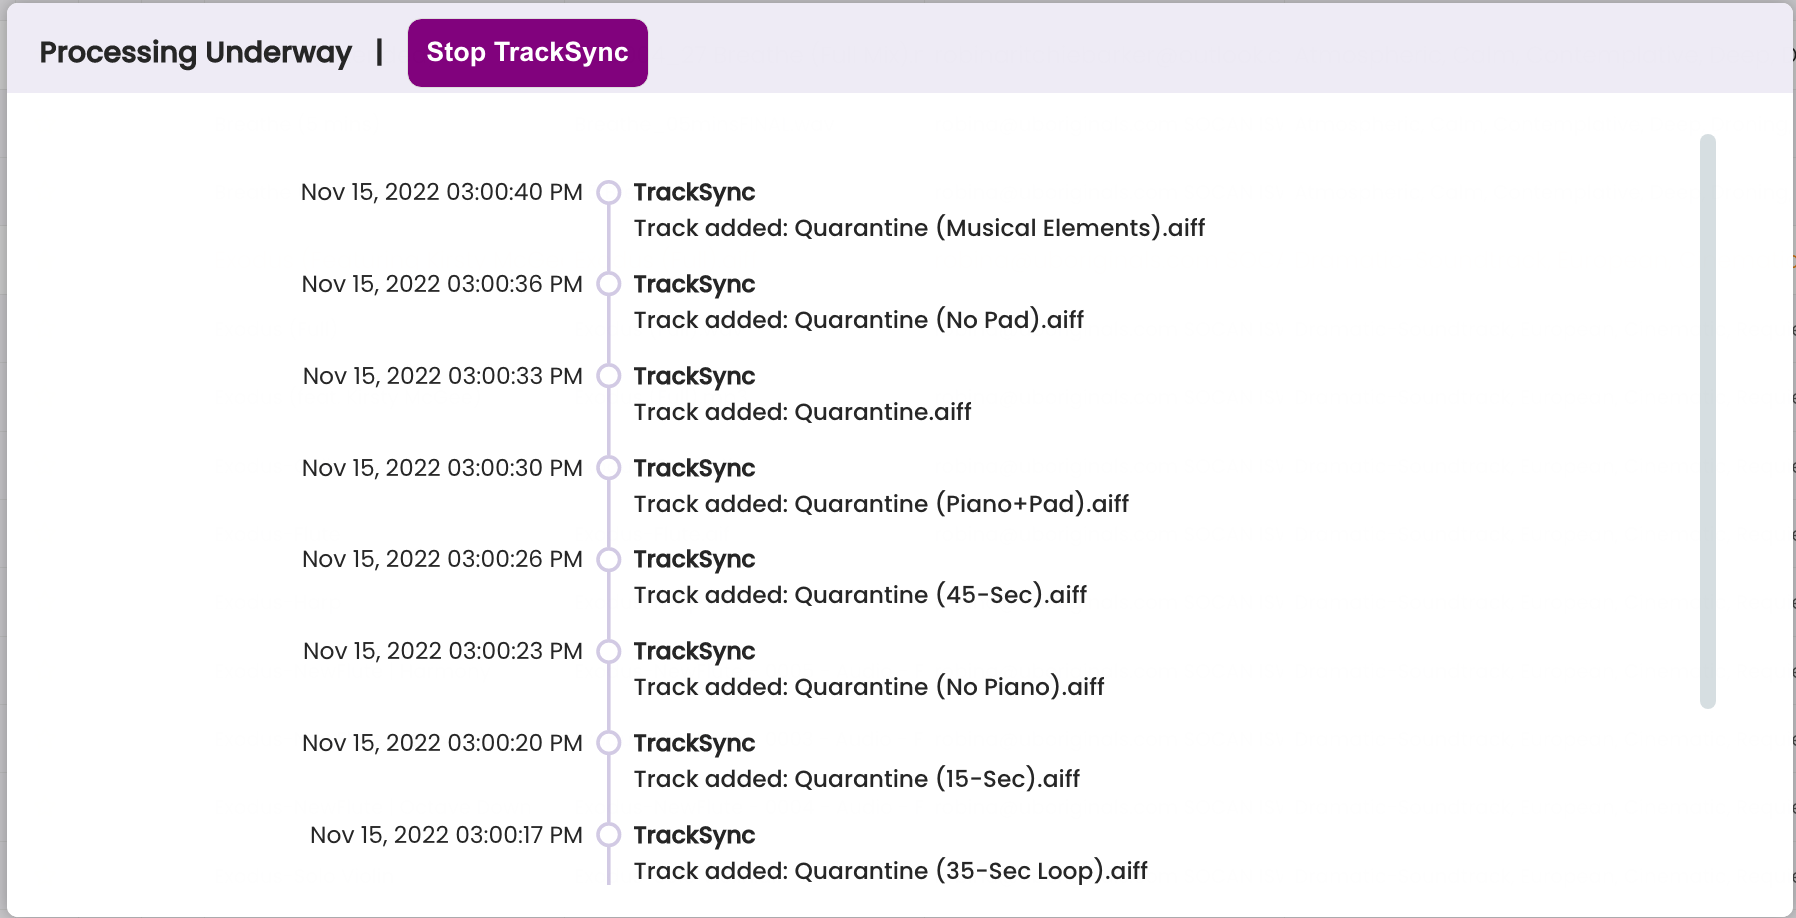
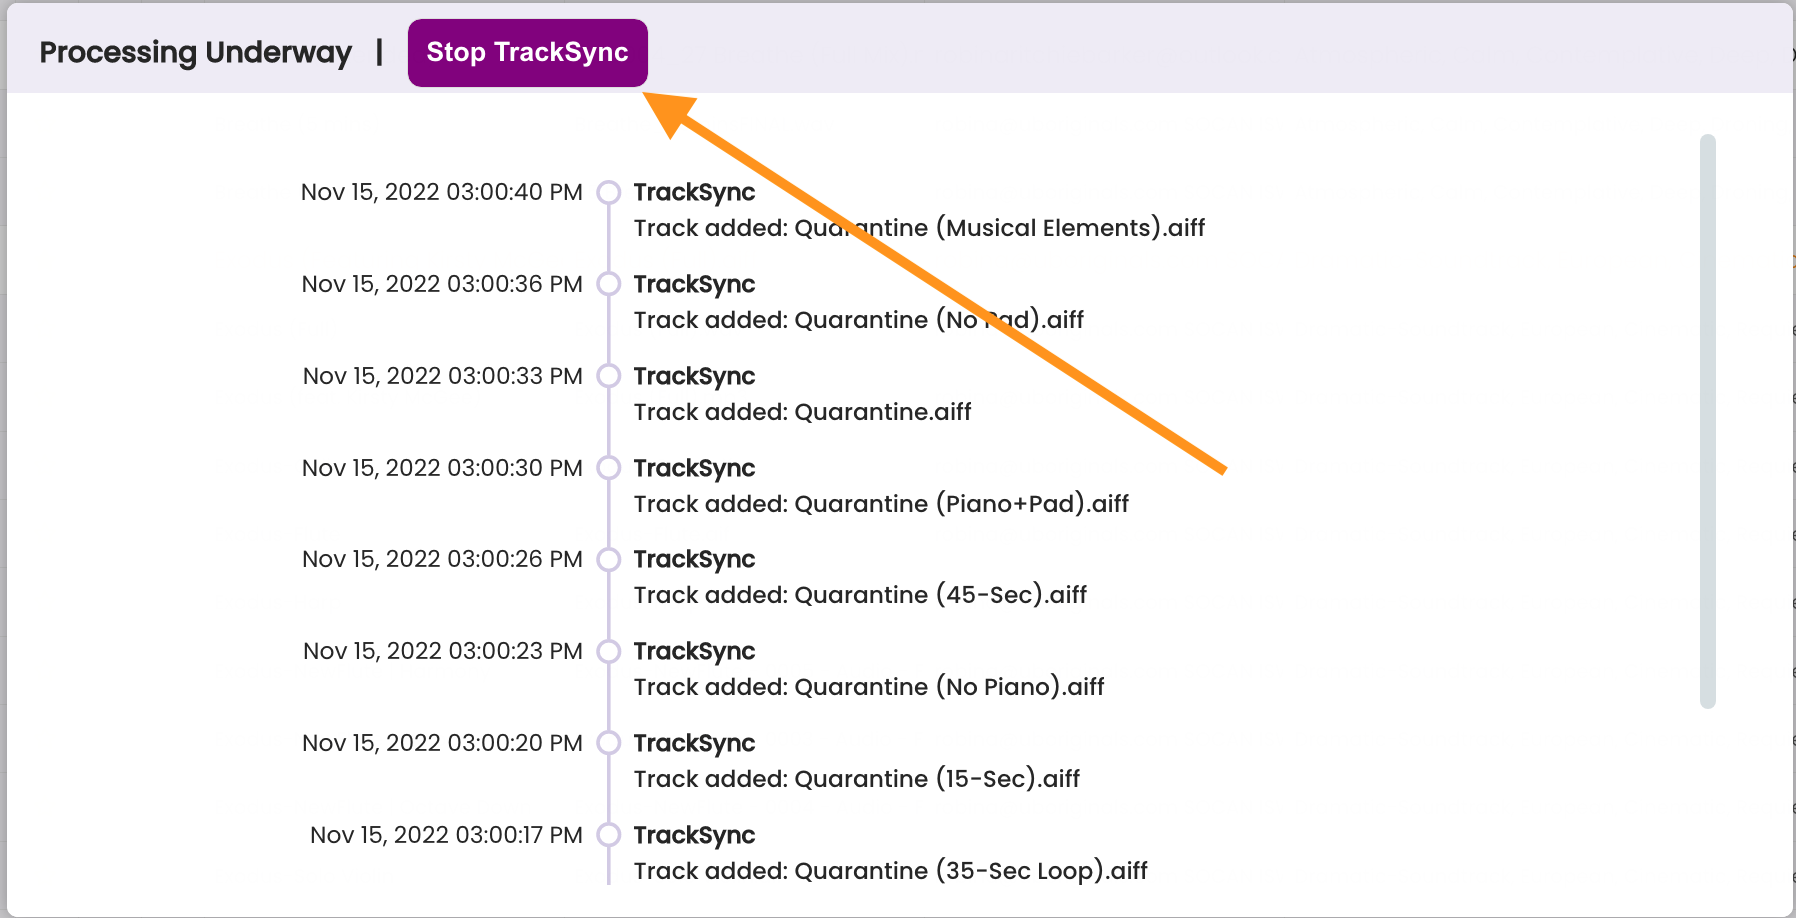
This is the command that calls TrackSync to review the TrackStage Folder on your hard drive for any changes and synchronize those changes with the online CATALOG. When tracks are added to or removed from the TrackStage folder, those changes will not show in the CATALOG until the Process Folder Updates command is run.

  1. Verify that TrackSync is running.
    Make sure the TrackSync status icon in your CATALOG is purple.

    TrackSync status icon showing as online.

    If the TrackSync status is orange, go to your Applications folder and start the TrackSync application.

    TrackSync status icon is orange when offline.       TrackSync Application icon.


  2. Click on Process Tracks > Process Folder Updates.

    Selecting all versions of the untagged tracks.

    The TrackSync window will open and display the changes that are detected in the TrackStage Folder. When the processing is complete the TrackSync window will close and the Catalog will refresh with the changes in place.

    Clicking the Tag Files button in the TrackStage Side Menu.


    While TrackSync is running, it needs to remain in your computer’s foreground until the operation is complete. Depending on your computer’s processing power, your internet speed, and how many tracks are being added or removed, processing updates can take some time. You can stop TrackSync at any time and then restart it at your convenience to complete the processing.


  3. To pause the TrackSync processing, click on Stop TrackSync.

    TrackStage will send the message to TrackSync to stop processing and TrackSync will pause.

    Clicking the Tag Files button in the TrackStage Side Menu.

    To restart the processing, just repeat Steps 1 & 2 above and TrackSync will pick up where it left off.

Import Spreadsheet Row

If you have your track metadata saved in an external spreadsheet, the Import Spreadsheet Row function makes it easy to bring that metadata into TrackStage.

  1. Prepare your spreadsheet.
    Make sure your spreadsheet’s columns match this template EXACTLY and are in precisely the SAME ORDER.

    TrackSync status icon showing as online.

    Note that the first column in this template is 'blank', and used for labeling purposes. Your spreadsheet's first column will likewise need to be blank and contain no data for the fields to properly line up when the row is pasted.


  2. Copy the entire row in your spreadsheet.

    Selecting all versions of the untagged tracks.


  3. In TrackStage, click on the track to which you want to paste the data and open the INFO Tab.

    Clicking the Tag Files button in the TrackStage Side Menu.


  4. Click Process Tracks > Import Spreadsheet Row.

    Clicking the Tag Files button in the TrackStage Side Menu.

    The data is pasted into the INFO Tab...

    Clicking the Tag Files button in the TrackStage Side Menu.

    ...and the KEYWORDS Tab.

    Clicking the Tag Files button in the TrackStage Side Menu.


  5. Click Save Changes.

    Clicking the Tag Files button in the TrackStage Side Menu.


    The data is saved to the track, ready to be tagged to the audio file.

    Clicking the Tag Files button in the TrackStage Side Menu.

Cache Tracks to Cloud

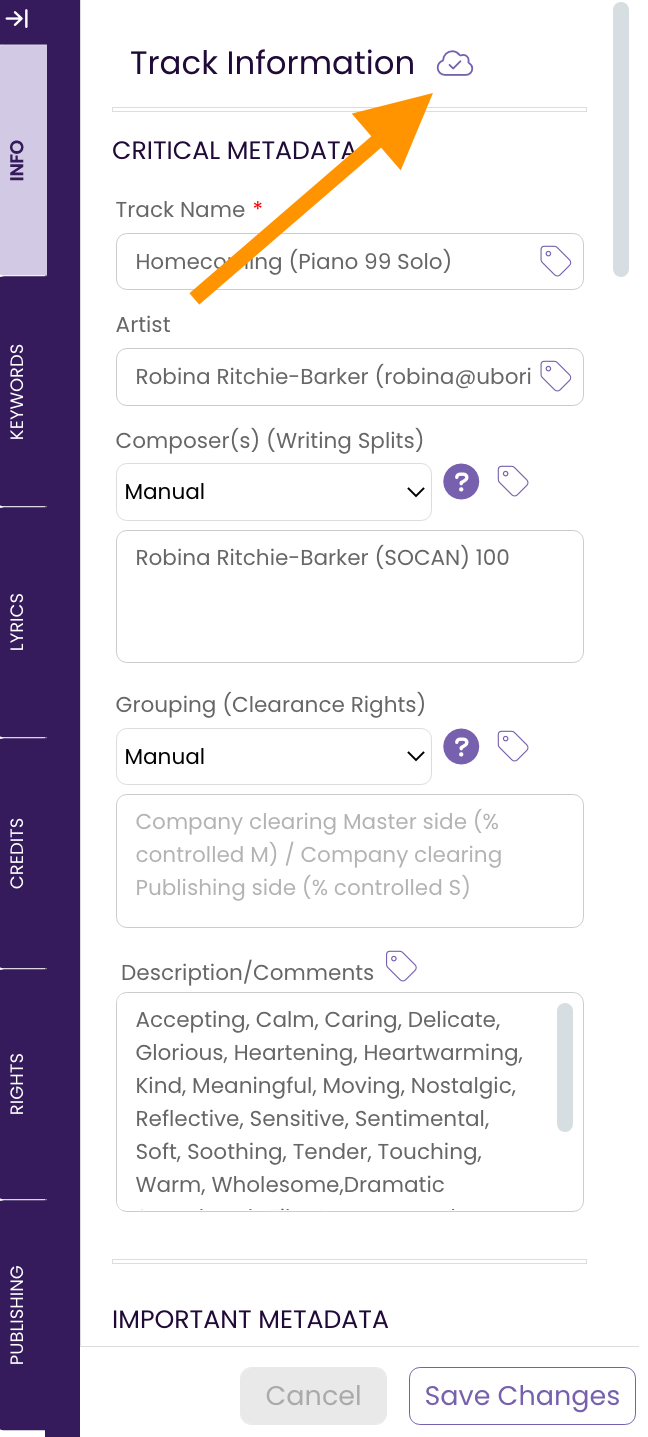
As AIFs and WAVs are generally too large in file size to be feasible to transmit via email, TrackStage enables you to cache an MP3 version of the file to the cloud so you can easily send a track to a contact.

  1. Verify that TrackSync is running.
    Make sure the TrackSync status icon in your CATALOG is purple.

    TrackSync status icon showing as online.


  2. Select the track in your CATALOG and open the INFO Tab.
    The track's Cache status appears in the top right corner.

    TrackSync status icon showing as online.


    If the track has been cached, the icon will be
    If the track has NOT been cached, the icon will be


  3. Select the track(s) you wish to cache.

    Selecting all versions of the untagged tracks.


  4. Click on Process Tracks > Cache Track to Cloud.

    Selecting all versions of the untagged tracks.

    The Cache Tracks confirmation dialog will open. Click Ok.

    Clicking the Tag Files button in the TrackStage Side Menu.


    TrackSync will convert the selected track(s) to MP3 version(s) and upload them to the cloud, making them ready for you to send through the TrackStage CONTACTS module. All you need to do is select the original track (can be MP3, AIF, or WAV), and TrackStage will automatically attach the cached version to your email.
    See Working with Contacts.