All Tutorials ⟩ Getting Started ⟩ Installing TrackSync
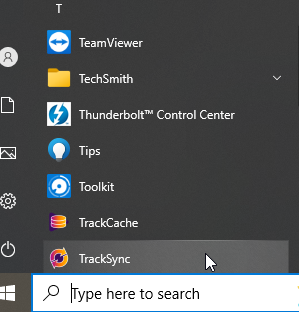
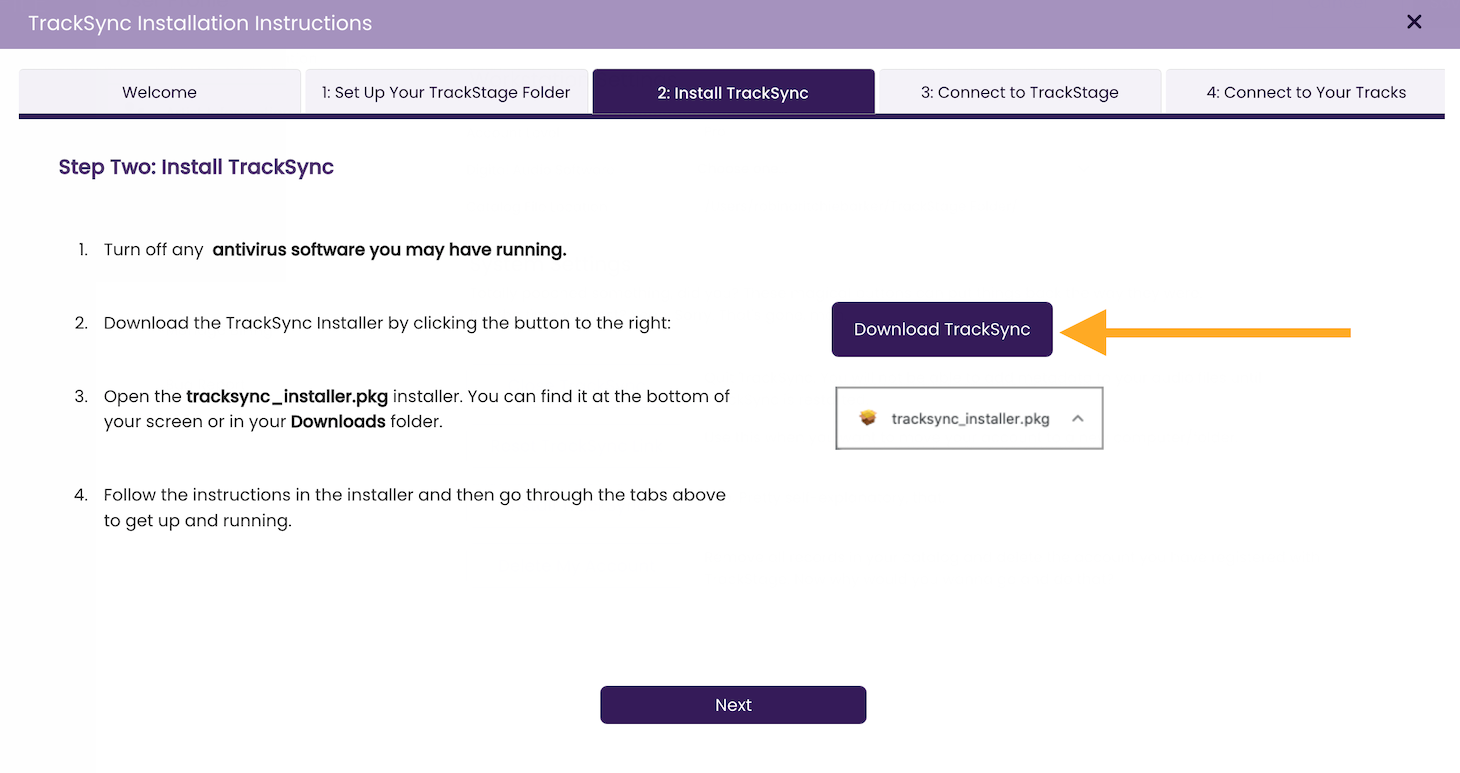
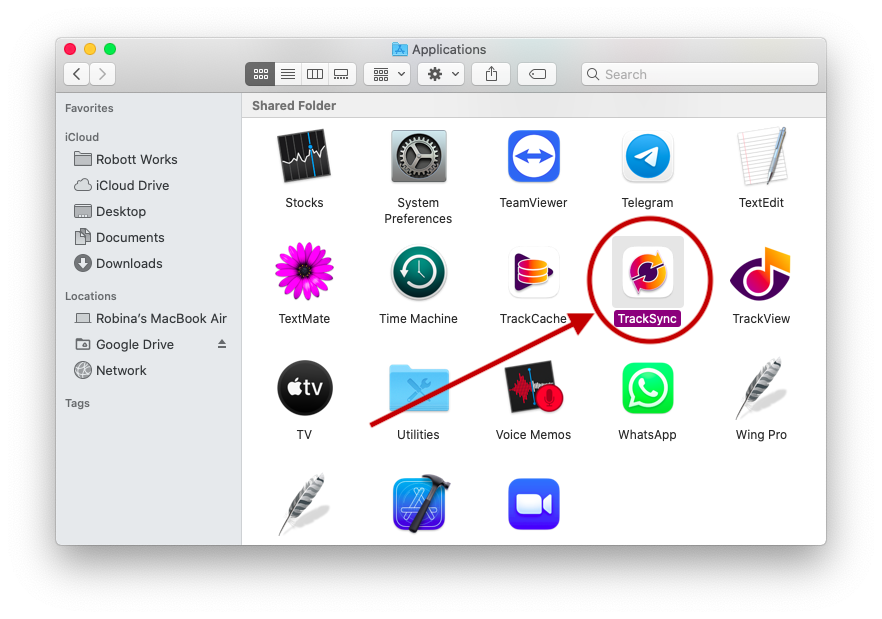
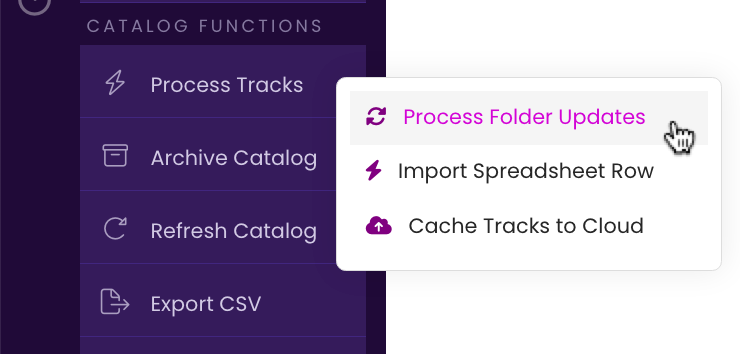
TrackSync is the helper application that connects the audio files in your TrackStage folder on your computer to your online Catalog. Once your TrackStage Folder is set up, you're ready to get TrackSync installed and configured.

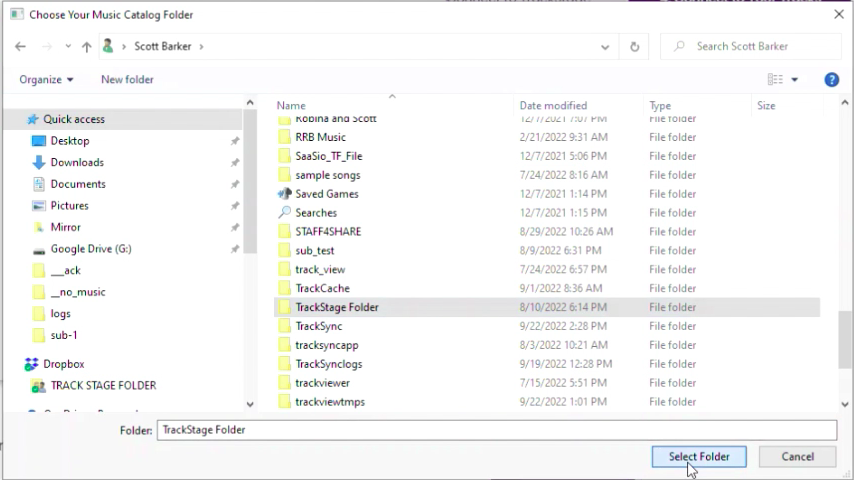
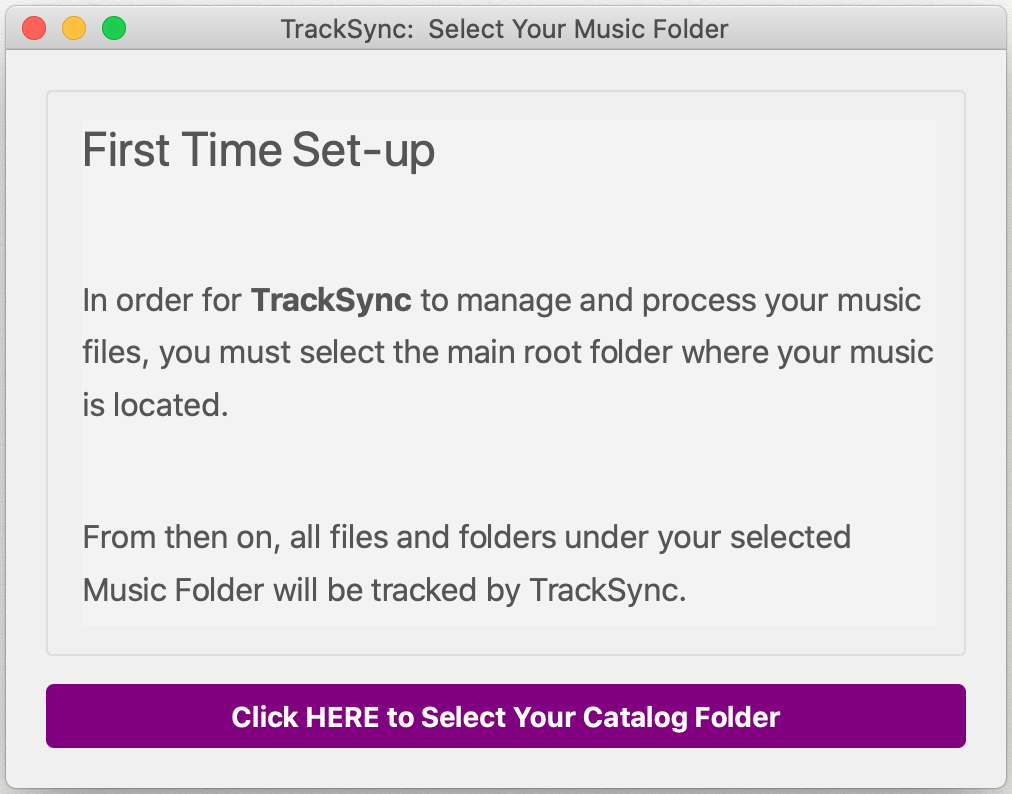
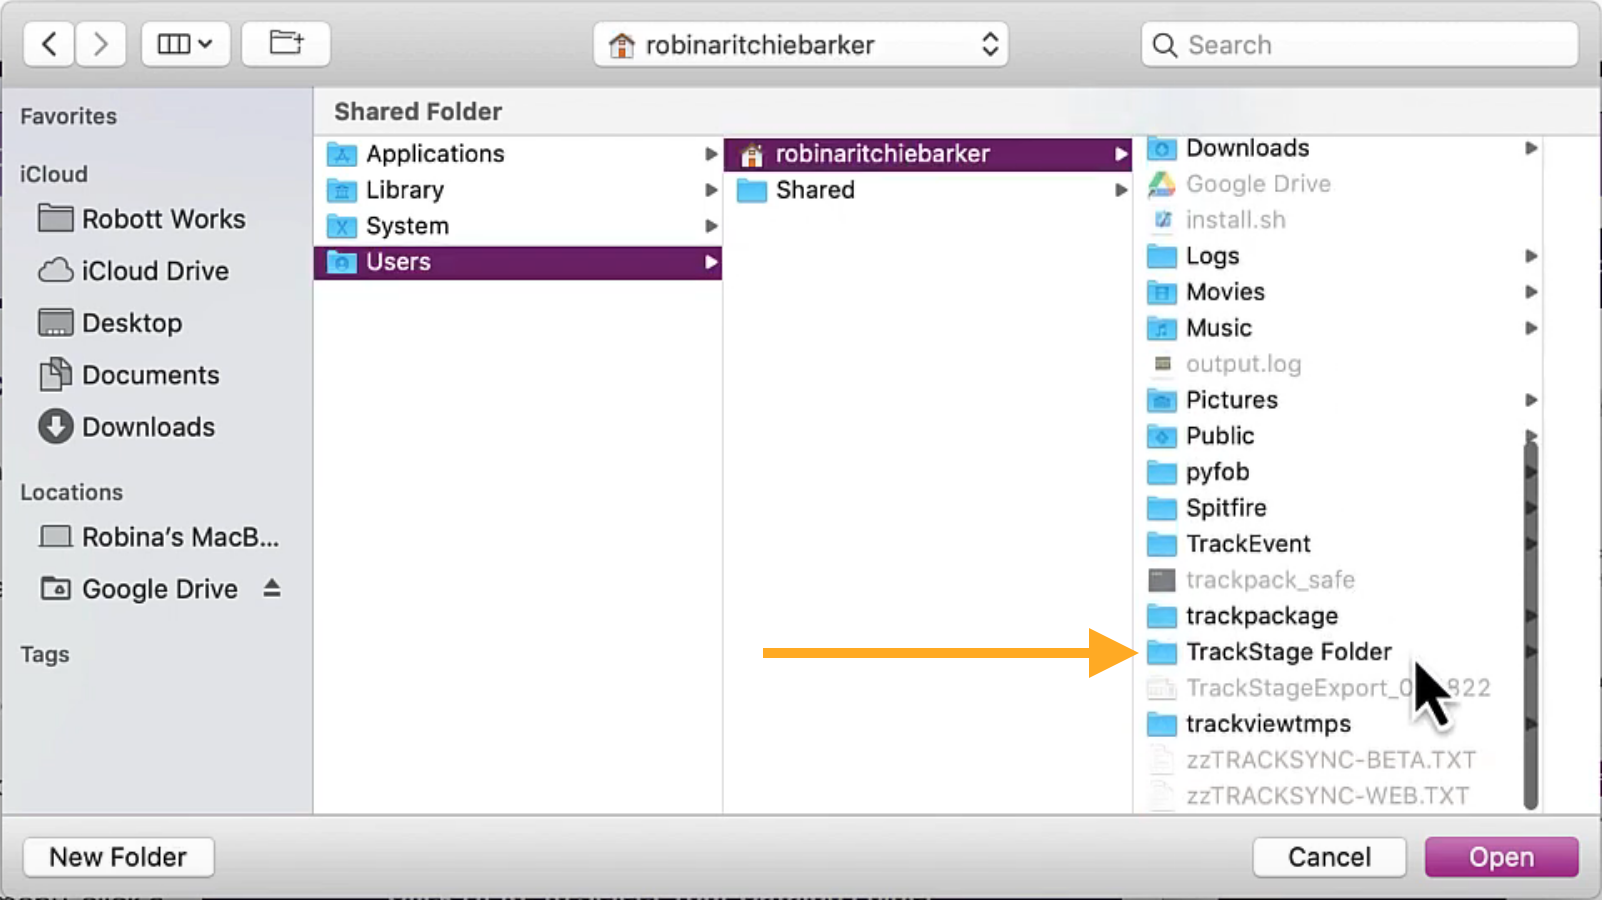
IMPORTANT: Before you start the installation and configuration process, make sure you have set up your TrackStage Folder

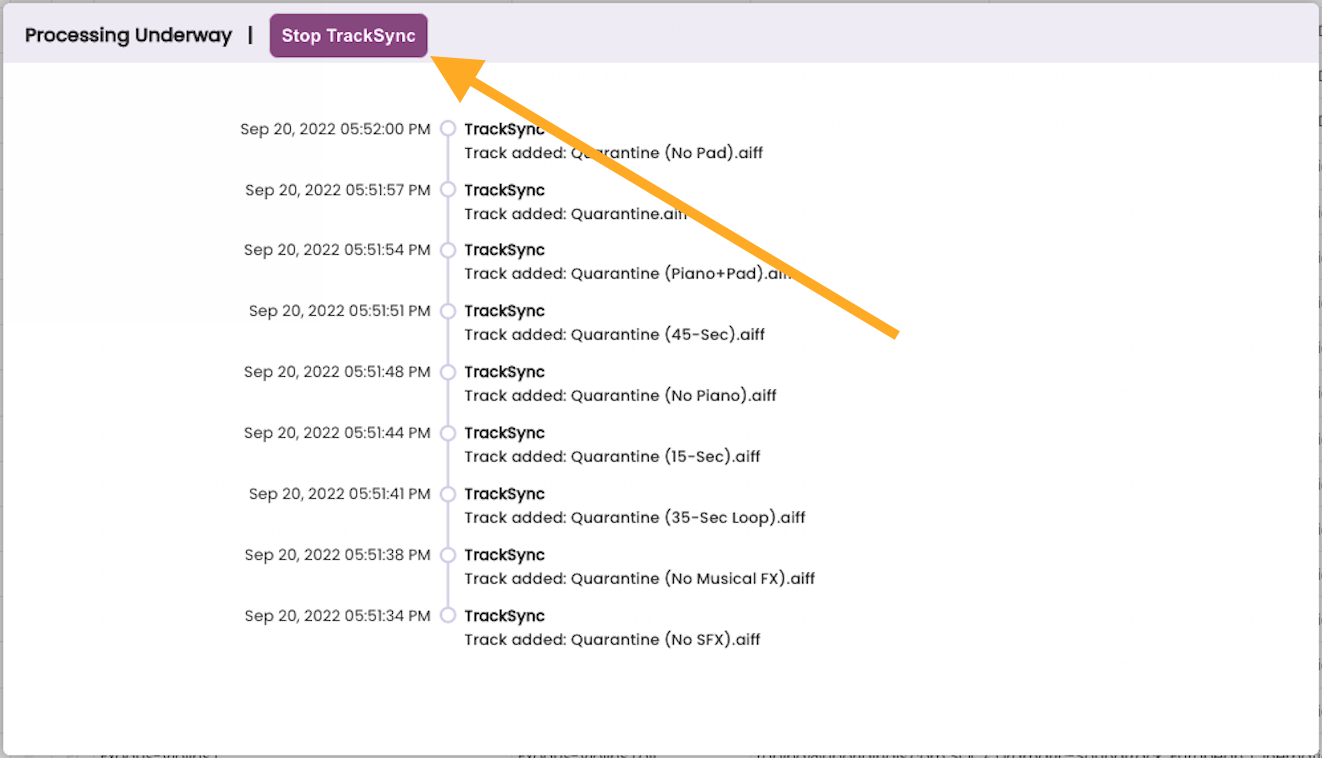
TrackSync will push changes in your TrackStage folder up to your TrackStage Catalog.
IMPORTANT: Before you start the installation and configuration process, make sure you have set up your TrackStage Folder


TrackSync will push changes in your TrackStage folder up to your TrackStage Catalog.